Difficulty: Medium
Cost: $29.53
Cost: $29.53
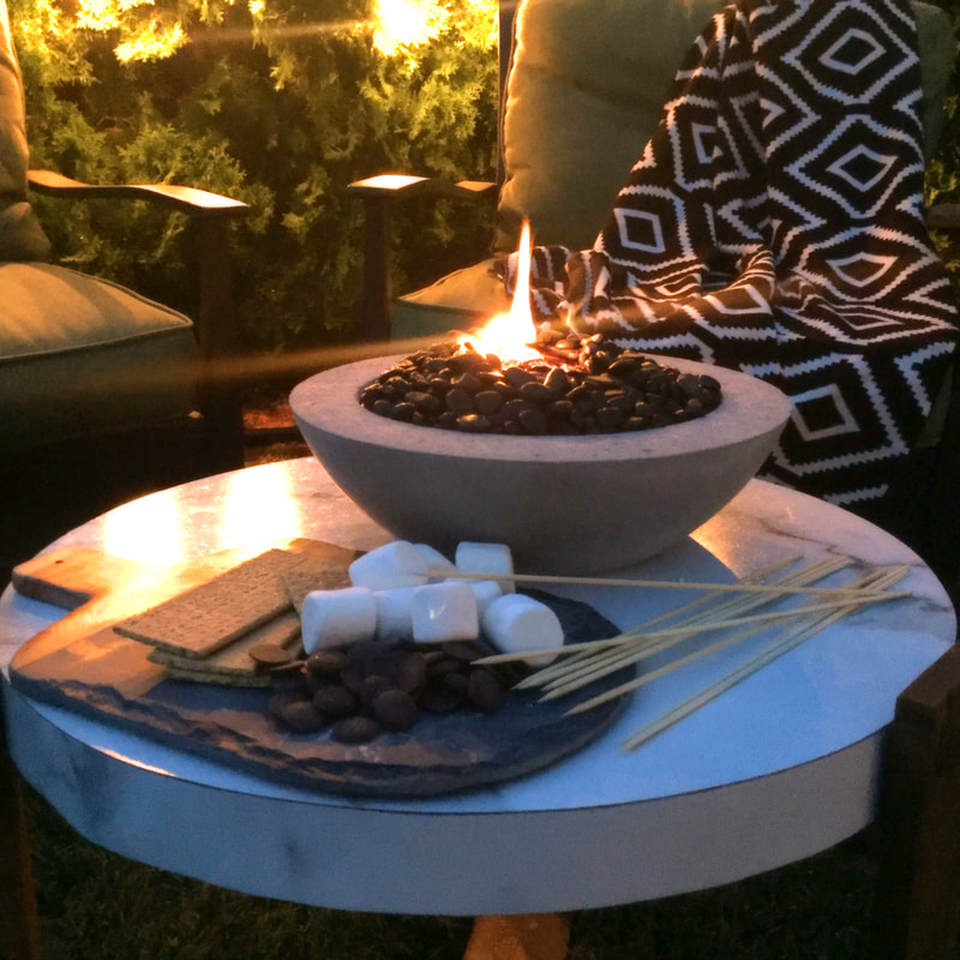
I was poking around on Wayfair looking for a tabletop fire feature for my patio and I found this beautiful concrete fire bowl for $1,599! I thought fat chance I'm spending that much... I'll make my own. I absolutely love how it turned out and we love the ambiance it creates out on our patio, we even cook s'mores on it! It's perfect if you want a table top fire feature or even if you live in an apartment with a teeny tiny patio but still want a fire to gather around.
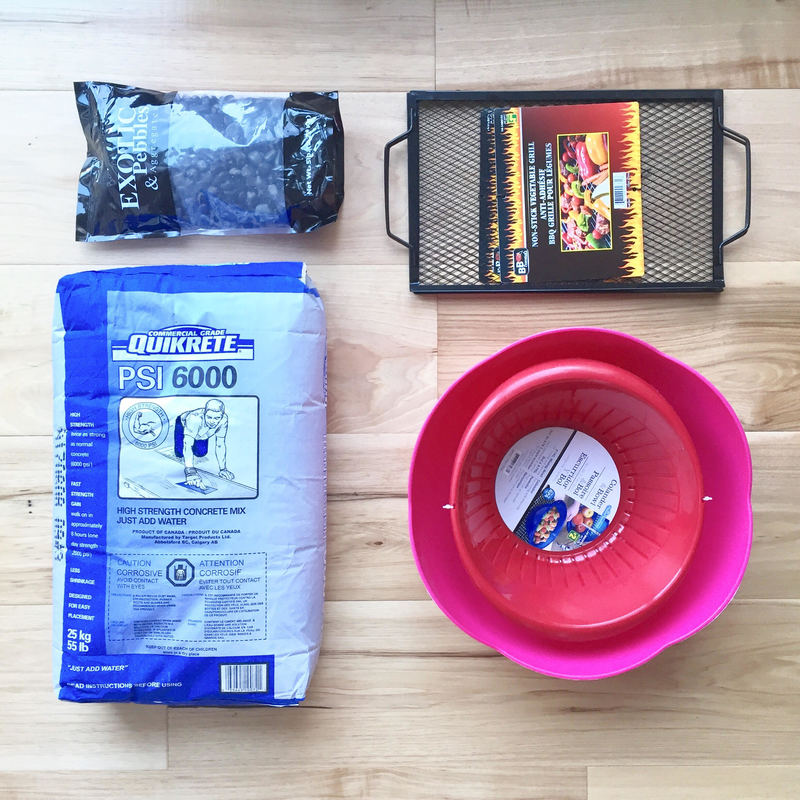
What you need to make your own:
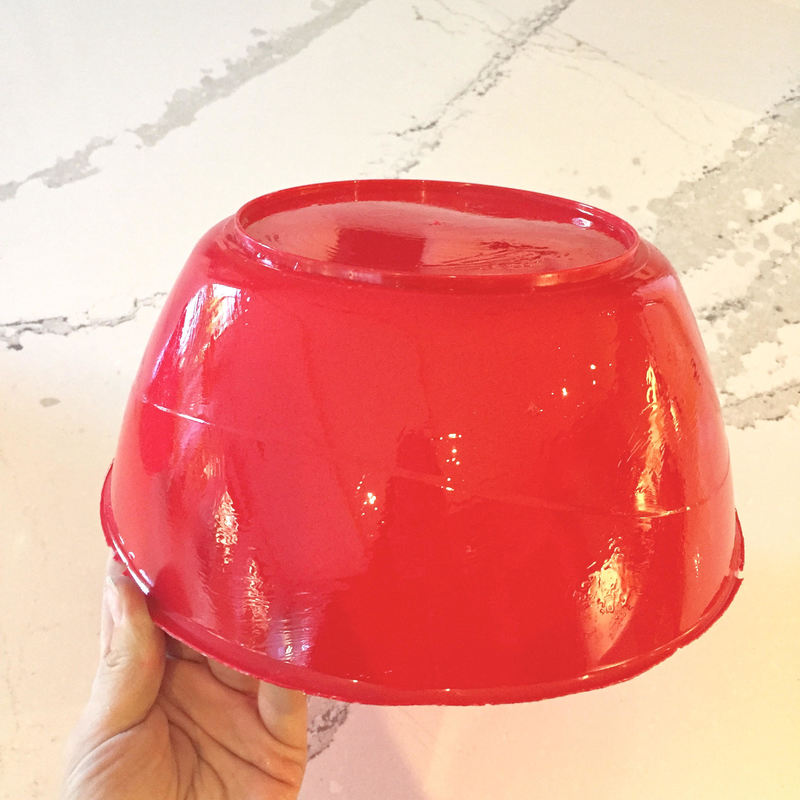
The bowls need to be quite flimsy to be able to get your concrete fire bowl out. You may have to break them if the concrete doesn't want to come out. I bought mine at the dollar store. When you choose your medium-sized bowl make sure you take into account what size your fuel pod is so that it will fit.
I don't know a lot about concrete and I won't ever claim to so I used a high strength concrete just to be on the safe side. I purchased my concrete at home depot.
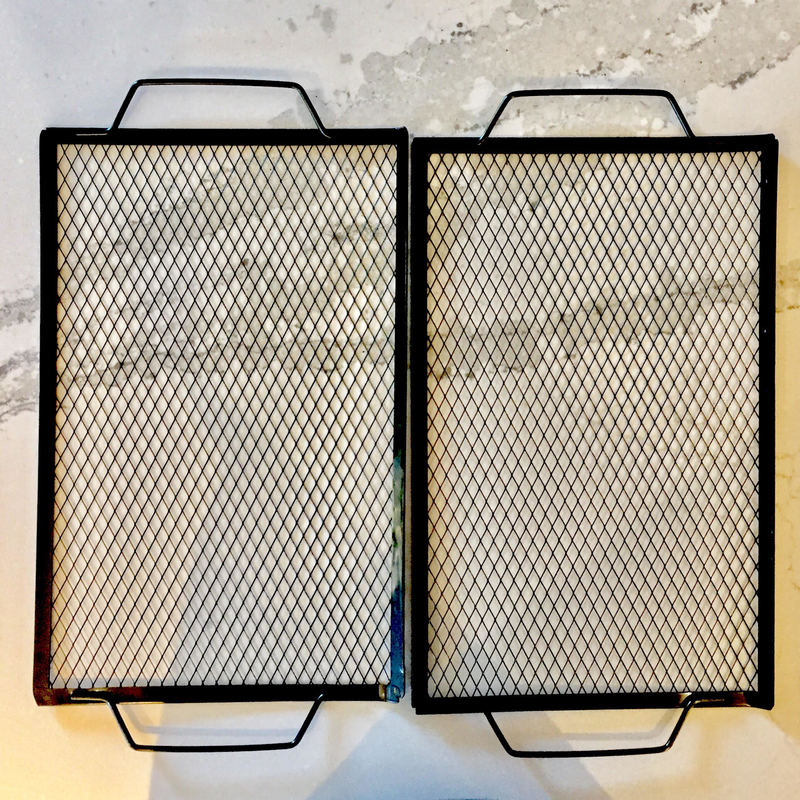
Now for your metal mesh you have a few options. I used two vegetable grill pans that I found at the dollar store because it was a cheaper option that would leave me with less waste. Be creative with this, just make sure whatever you use is a metal that is fire safe. You can also get a roll of mesh at home depot for about $10.
I got my decorative rocks at home sense. They would have been cheaper if I would've got them at the dollar store but they didn't have black rocks and I'm a woman who knows what I want.
If you plan on roasting marshmallows with your fire bowl and using it indoors, it is very important that you get a gel fuel canister that is made from clean burning ethanol alcohol. DO NOT buy gel fuel made with methanol, it is not food safe and does not burn clean. I bought these from Canadian Tire for about $6 a pop.
I spent a total of $29.53 on all of my supplies.. not bad! A lot better than $1,599 that is for sure!
- Large flimsy bowl
- Medium flimsy bowl
- High strength concrete mix
- Water
- Stir stick
- Canola oil
- Paper towel
- Weights (I used rocks)
- Sand paper
- Metal mesh
- Wire cutters
- Needle nose plyers
- Decorative rocks
- Gel fuel canister
The bowls need to be quite flimsy to be able to get your concrete fire bowl out. You may have to break them if the concrete doesn't want to come out. I bought mine at the dollar store. When you choose your medium-sized bowl make sure you take into account what size your fuel pod is so that it will fit.
I don't know a lot about concrete and I won't ever claim to so I used a high strength concrete just to be on the safe side. I purchased my concrete at home depot.
Now for your metal mesh you have a few options. I used two vegetable grill pans that I found at the dollar store because it was a cheaper option that would leave me with less waste. Be creative with this, just make sure whatever you use is a metal that is fire safe. You can also get a roll of mesh at home depot for about $10.
I got my decorative rocks at home sense. They would have been cheaper if I would've got them at the dollar store but they didn't have black rocks and I'm a woman who knows what I want.
If you plan on roasting marshmallows with your fire bowl and using it indoors, it is very important that you get a gel fuel canister that is made from clean burning ethanol alcohol. DO NOT buy gel fuel made with methanol, it is not food safe and does not burn clean. I bought these from Canadian Tire for about $6 a pop.
I spent a total of $29.53 on all of my supplies.. not bad! A lot better than $1,599 that is for sure!
|
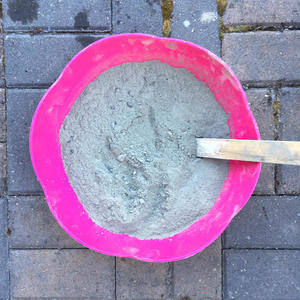
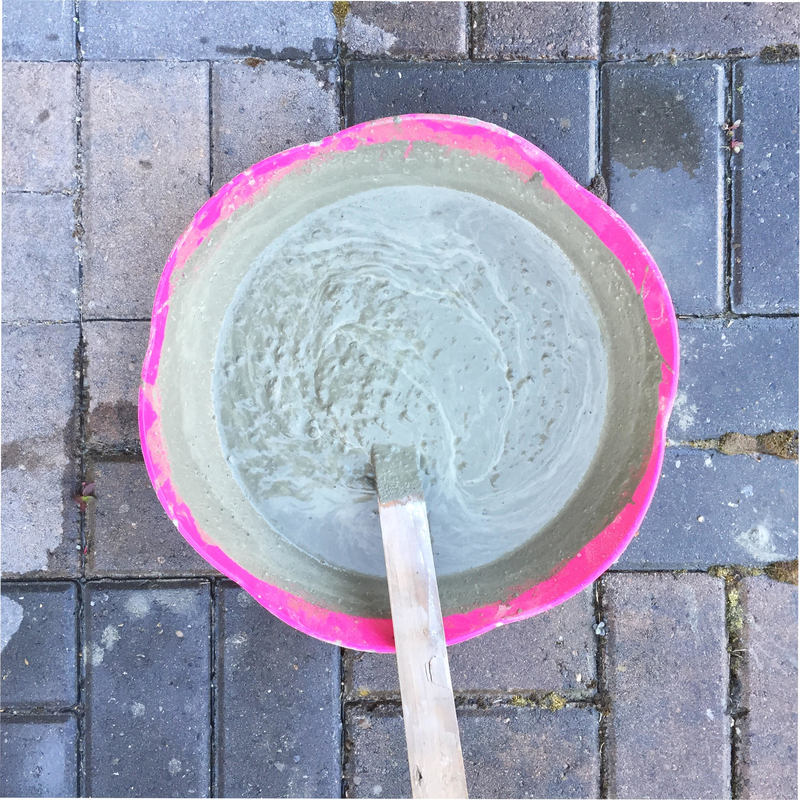
I mixed my concrete right in my big bowl. I just added enough water to be able to stir it. Add a little bit of water at a time... just like Mom always said you can always add but you can't take away. Remember I said I didn't know a lot about concrete? I don't have an exact measurement or ratio I just winged it it turned out okay so you can do it too.
|
|
|
|
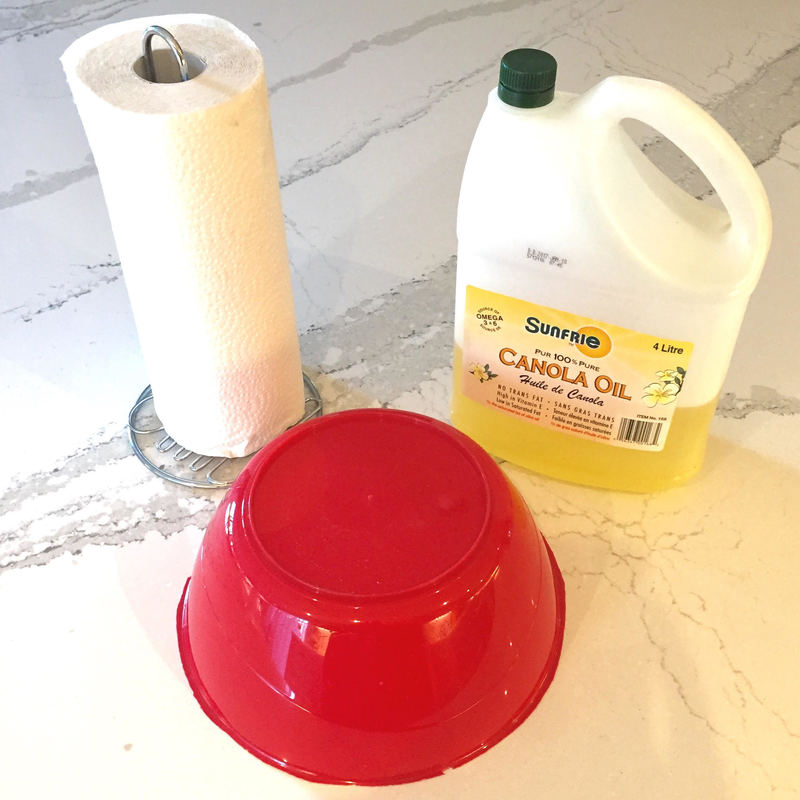
Now you're going to pretend the medium bowl is George Clooney's left butt cheek and oil it up real good. I did this to make it easier to pop the bowl out of the concrete.
|
|
|
|
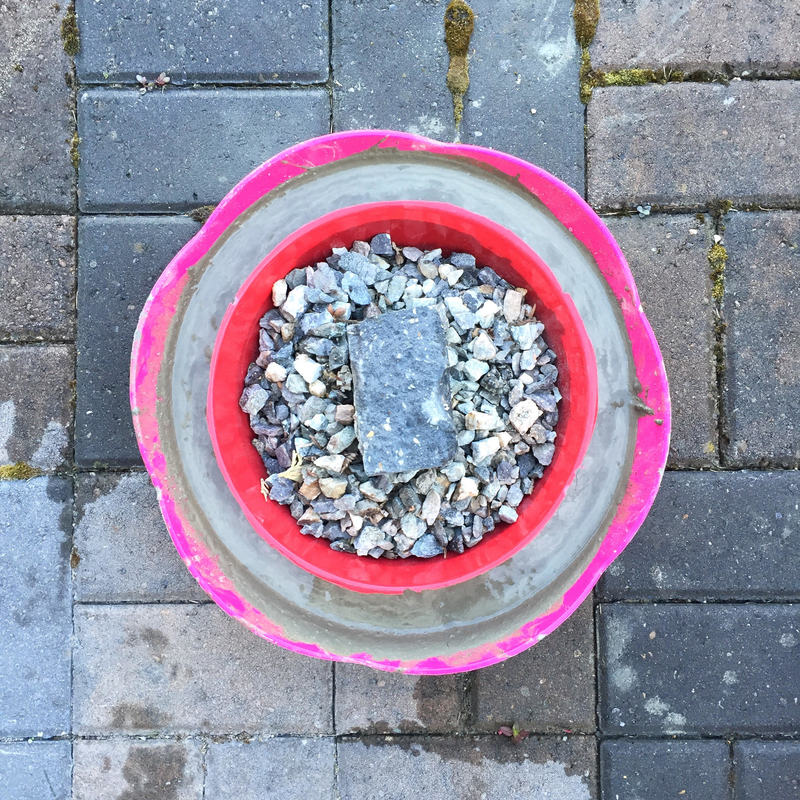
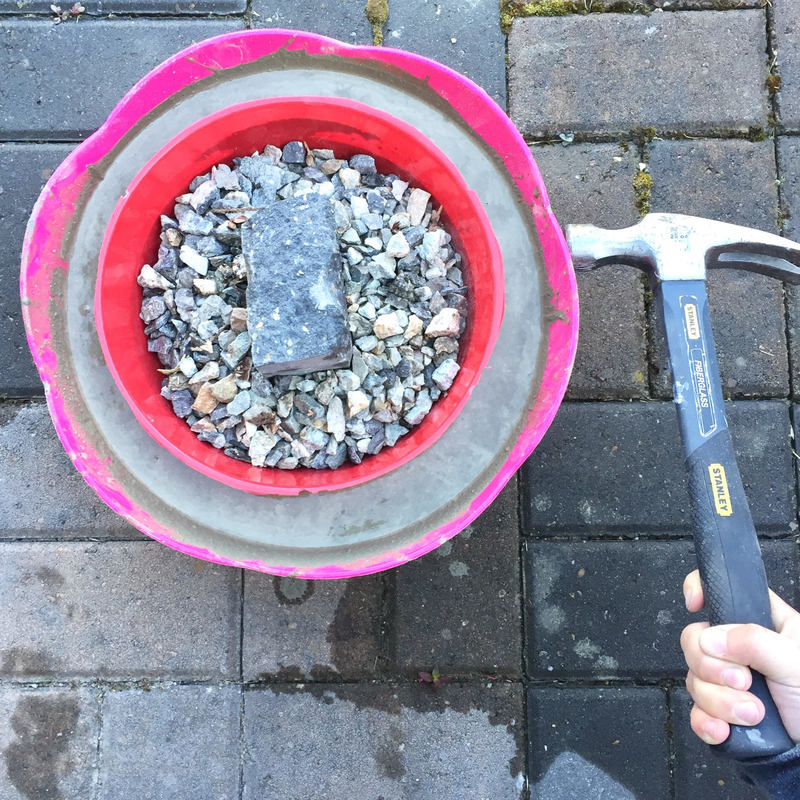
You can push your medium bowl into your concrete now that its all oiled up. You will need to weigh it down with something, I just used some rocks and a brick from my backyard.
I hit the sides of my big bowl with a hammer to get rid of any air bubbles. Ensure that you are on a level surface. |
|
|
When your concrete has dried completely you're ready to pop that sucker out of there. I waited 24 hours just to be sure it was good and ready. Dump all of the rocks out. The medium bowl should come out easily if you greased it up well enough. Then you'll pop the concrete bowl out of the large bowl and sand it a bit so that it is nice and smooth. I didn't sand the sides, I only did the top lip.
|
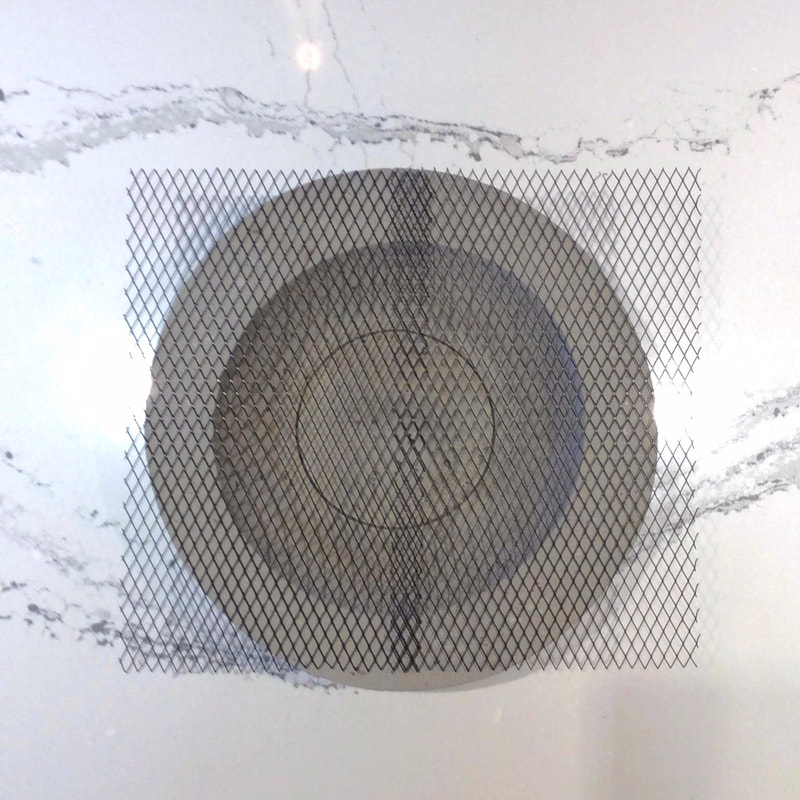
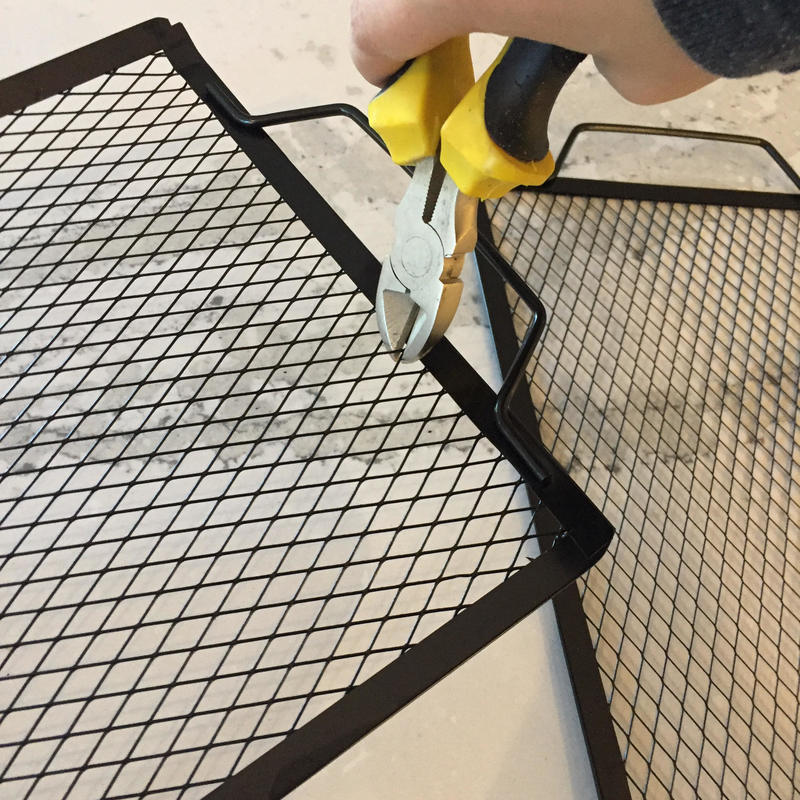
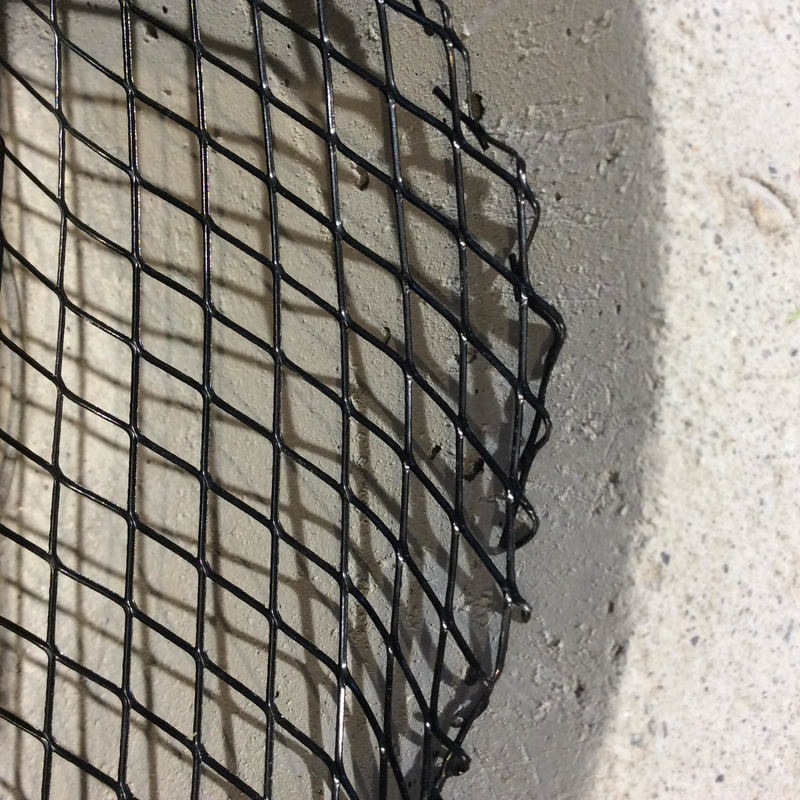
Now you're going to use your wire cutters to cut your metal mesh the size of the fire bowl.
I didn't use a roll of mesh so I had to use two of these BBQ grill things and just one wasn't wide enough. I used twist ties to hold them together. Sometimes you've got to channel your inner MacGyver. |
|
|
|
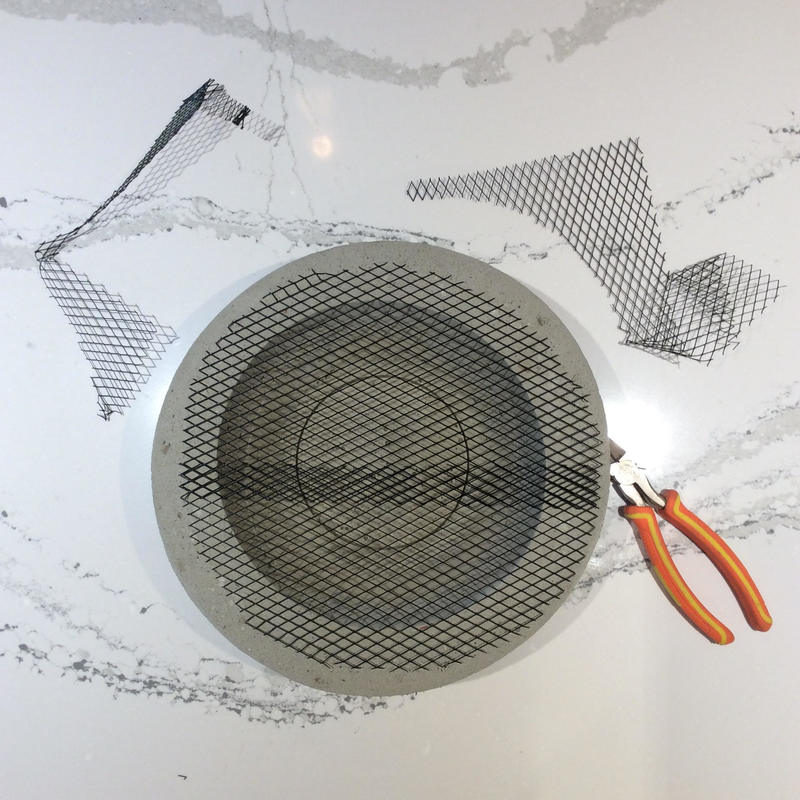
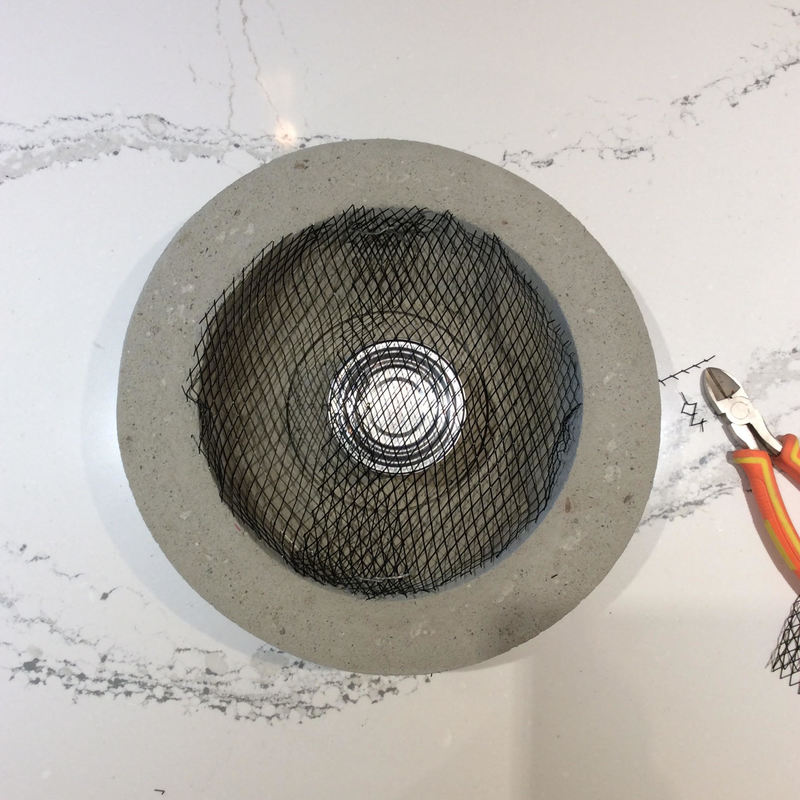
Pop your can of gel fuel in the bowl and place the mesh on top. Push down on the mesh to form around the can until the mesh is in the bowl almost all the way. Be careful of the sharp edges on the mesh. The dip in the mesh will hold all of the rocks.
To take care of the sharp edges I used needle nose plyers to bend the edges down. |
|
|
|
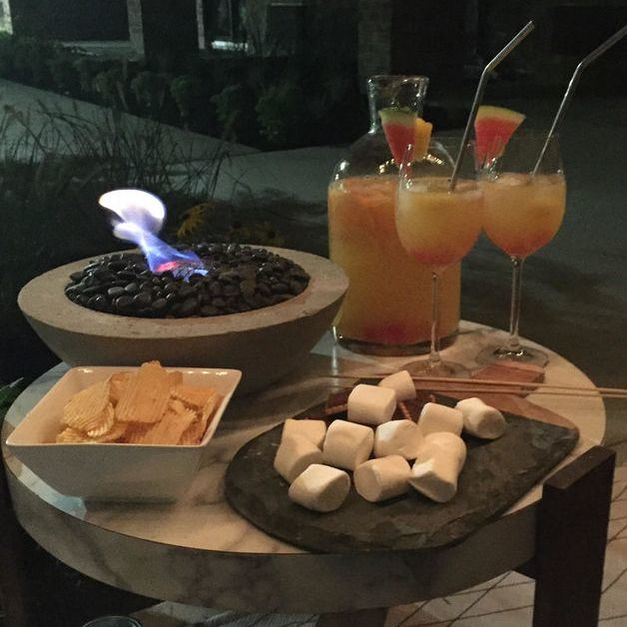
Take the lid off of your gel fuel canister, put the mesh back on and dump your rocks in. You're ready to go.. now go have some sangria cause you deserve it after all that.
|

|
|
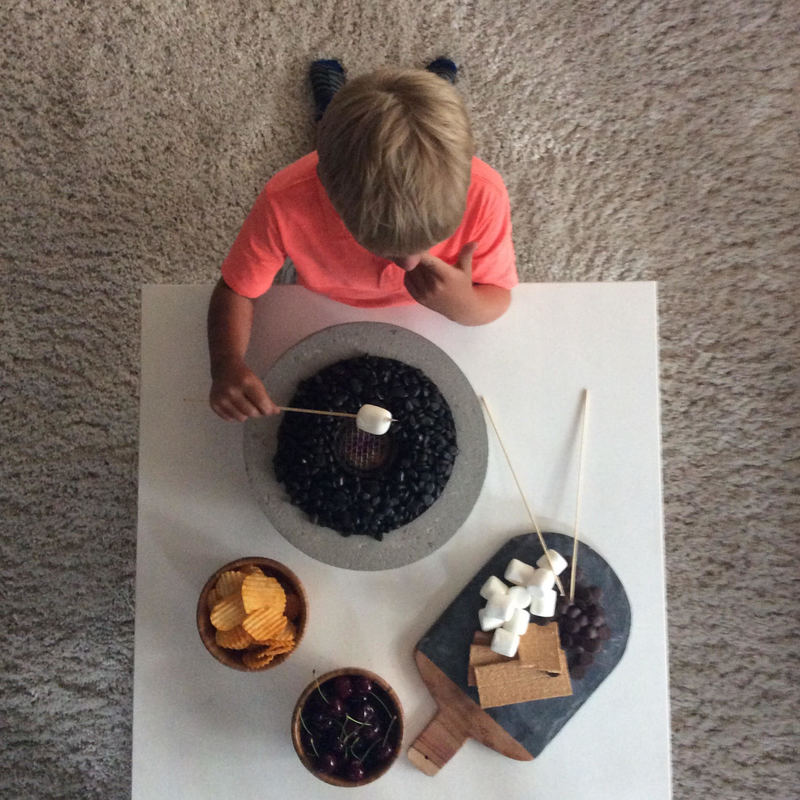
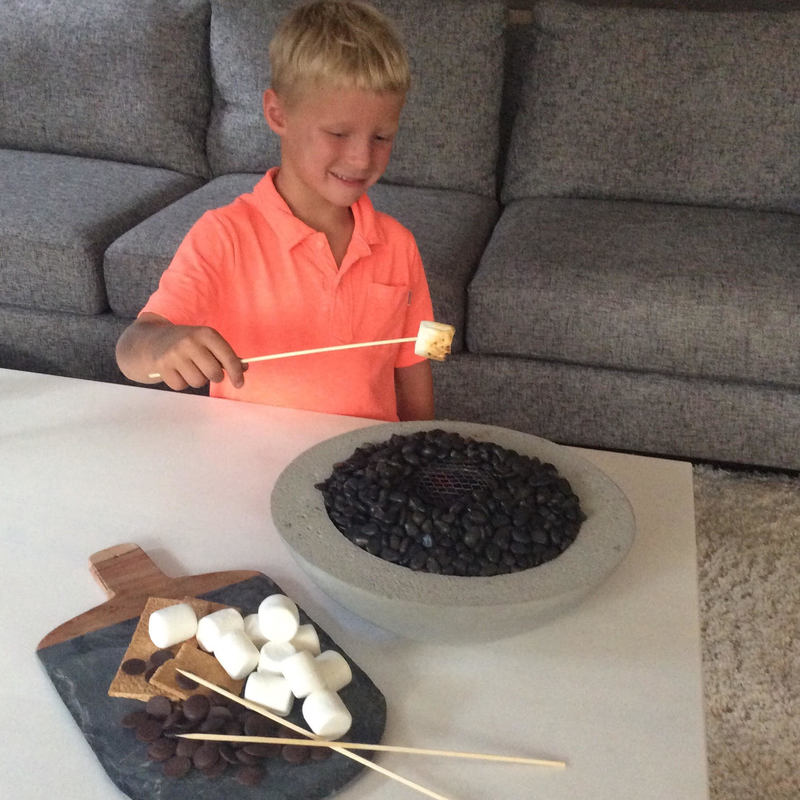
You can enjoy this fire bowl in and outdoors because the flame burns clean. I love that I will be able to use my fire bowl in the winter months too. S'mores and movie nights are my little brothers favorite thing to do when he comes and visits me on the weekends.
|
|
We get a ton of use out of this thing. Make sure that after each use you put the lid back on the gel fuel canister. I didn't do this and the gel evaporated. Don't be like me and let your money evaporate away.

Now go get a drink and some s'mores and enjoy your new fire bowl!